
Timeclock: Punching In/Out
If you prefer a traditional “time clock” experience over manual entry, you can use the Punch In/Out feature. This tool automatically tracks and calculates the time spent on a specific Work Order.
Enabling the FeatureTo activate the Timeclock, follow these steps:
- Navigate to the Preferences Screen.
- Locate Admin Options.
- Toggle the setting found directly below the Time Tracking options.
[!IMPORTANT] Time Tracking must be turned ON for this feature to appear.
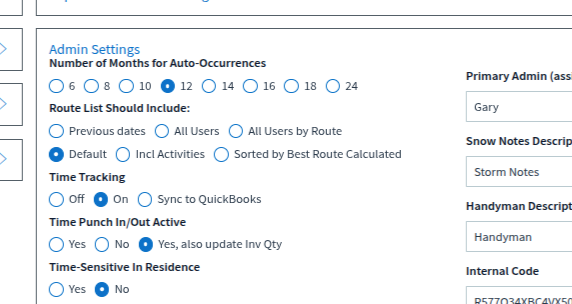
Configuration Options
- Yes: Enables Punch In/Out. Time is logged under Actual Man Hours for the Work Order.
- No: Disables the feature; the Punch In/Out button will not appear.
- Yes, also update Inv Qty: Time is logged in Actual Man Hours AND automatically updates the Invoice Quantity field on the Work Order.
Critical Setup Rule: The “First Line” RuleThe system applies all recorded time to the very first line of the Work Order.
- Requirement: Ensure your first detail line is your Service/Labor line.
- Avoid: Do not put parts, supplies, or materials on the first line, or their quantities will be overwritten by your time clock hours.
How to Use the Timeclock
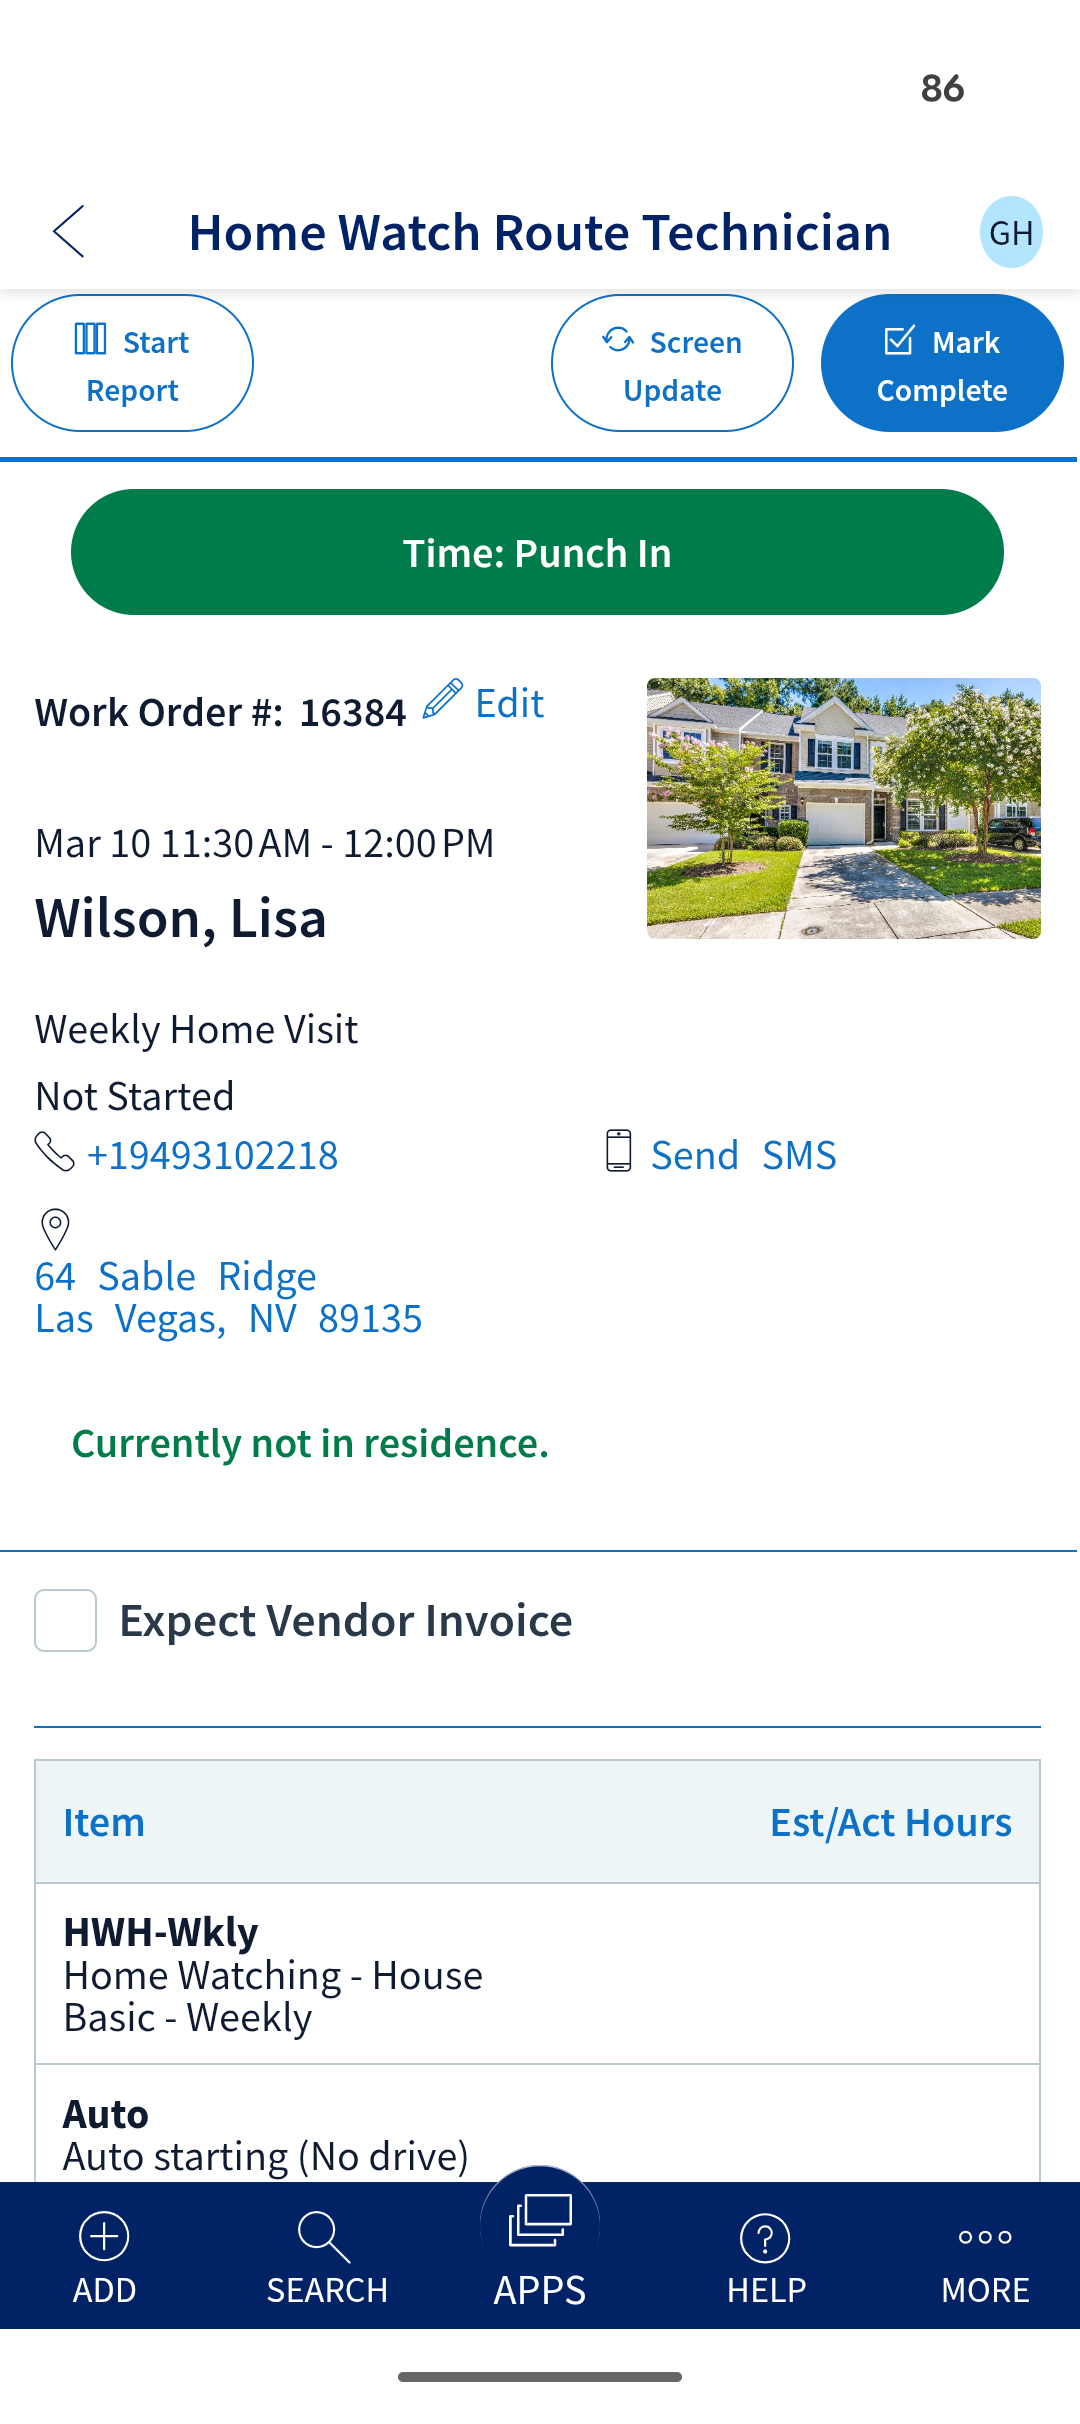
Section titled “How to Use the Timeclock”Once activated, a button will appear within your Work Orders:
- Punch In: Click the button to start the timer.
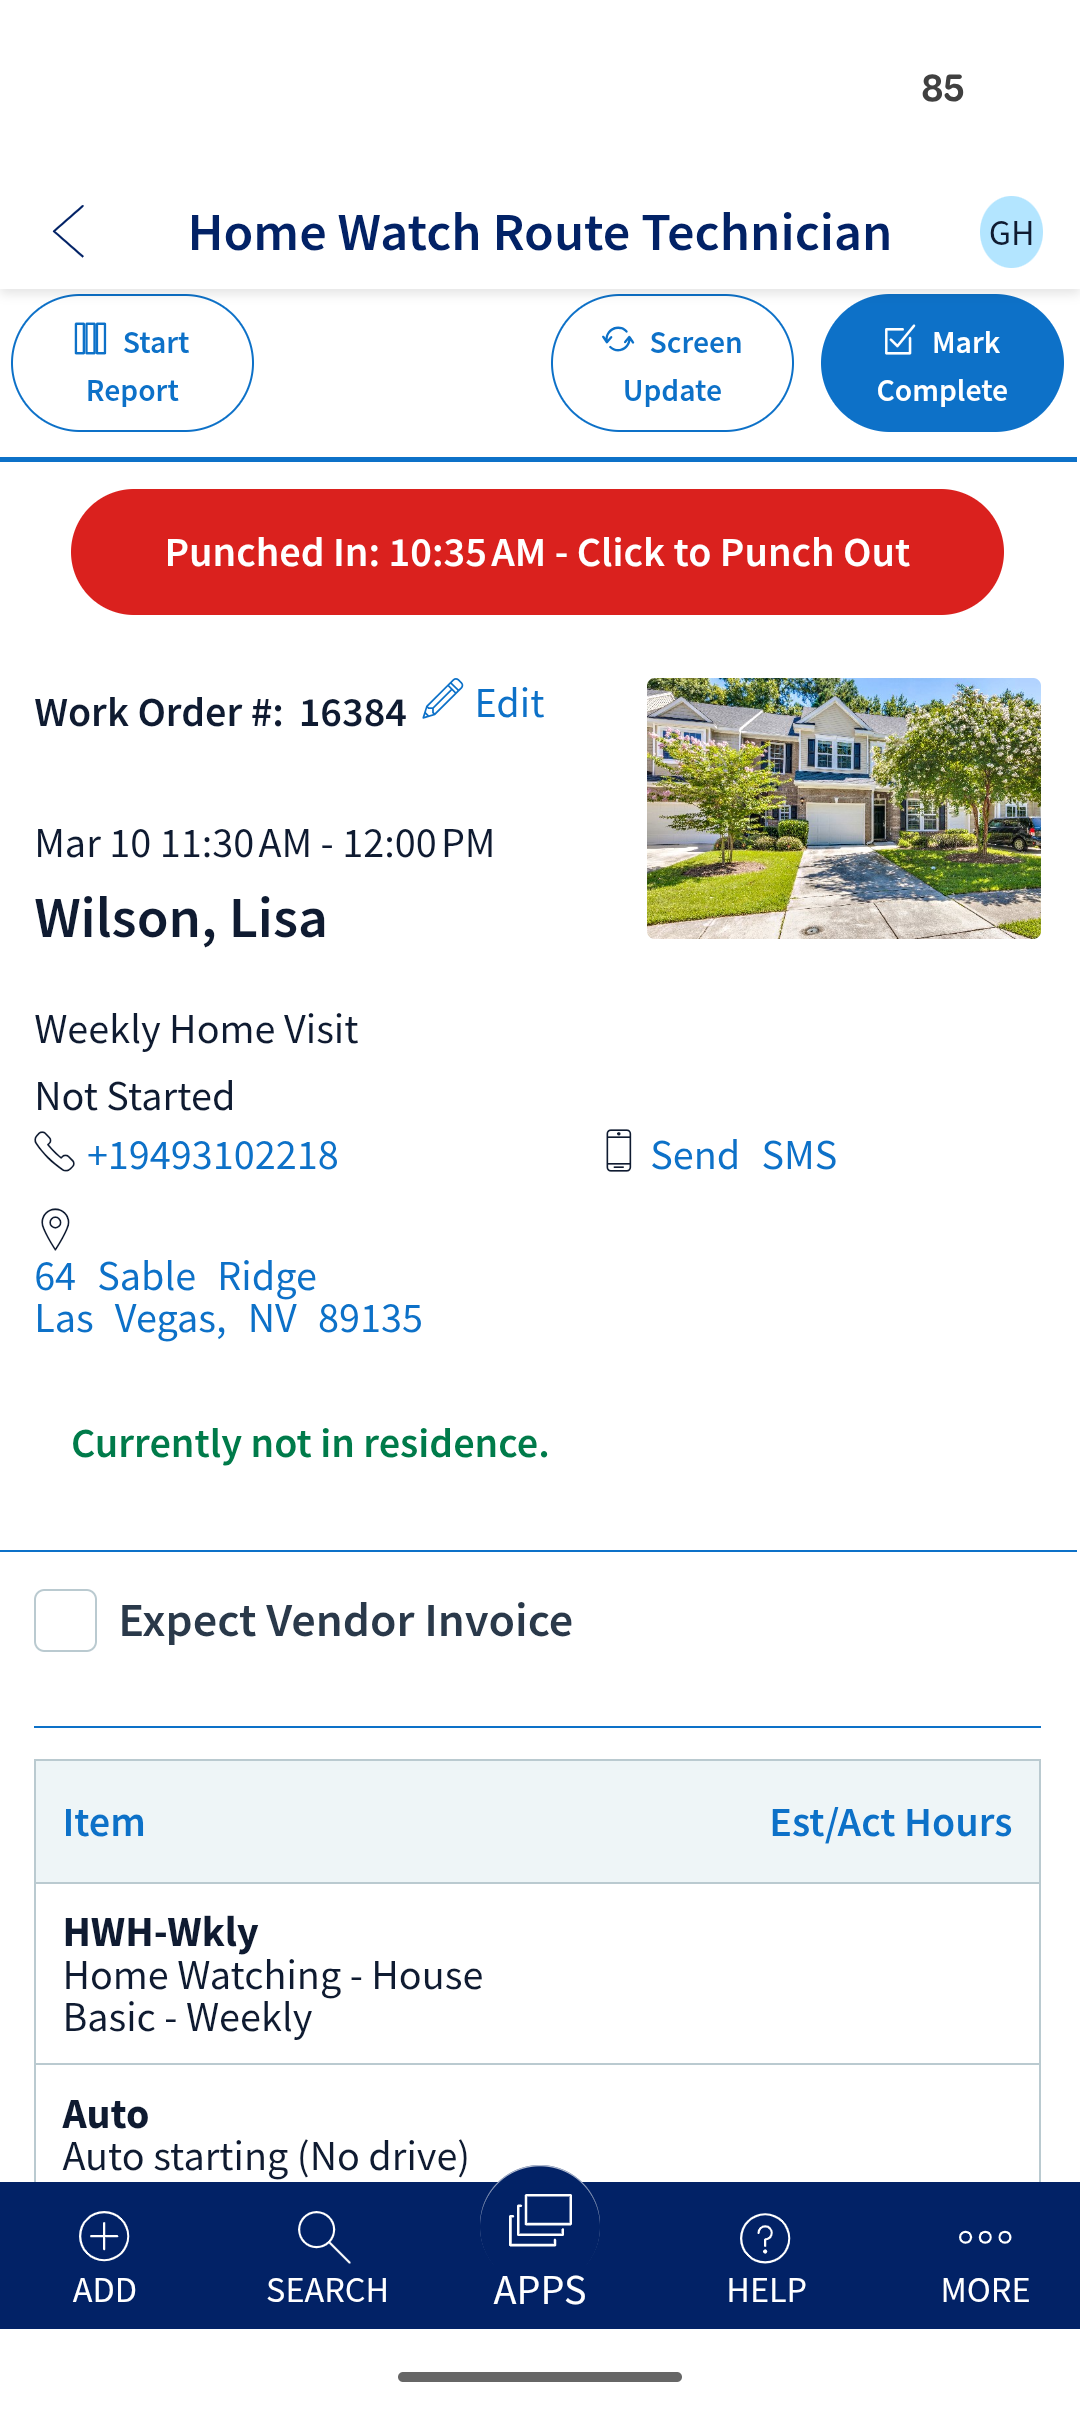
- Punch Out: Click the red Punch Out button when you are finished or taking a break.
-
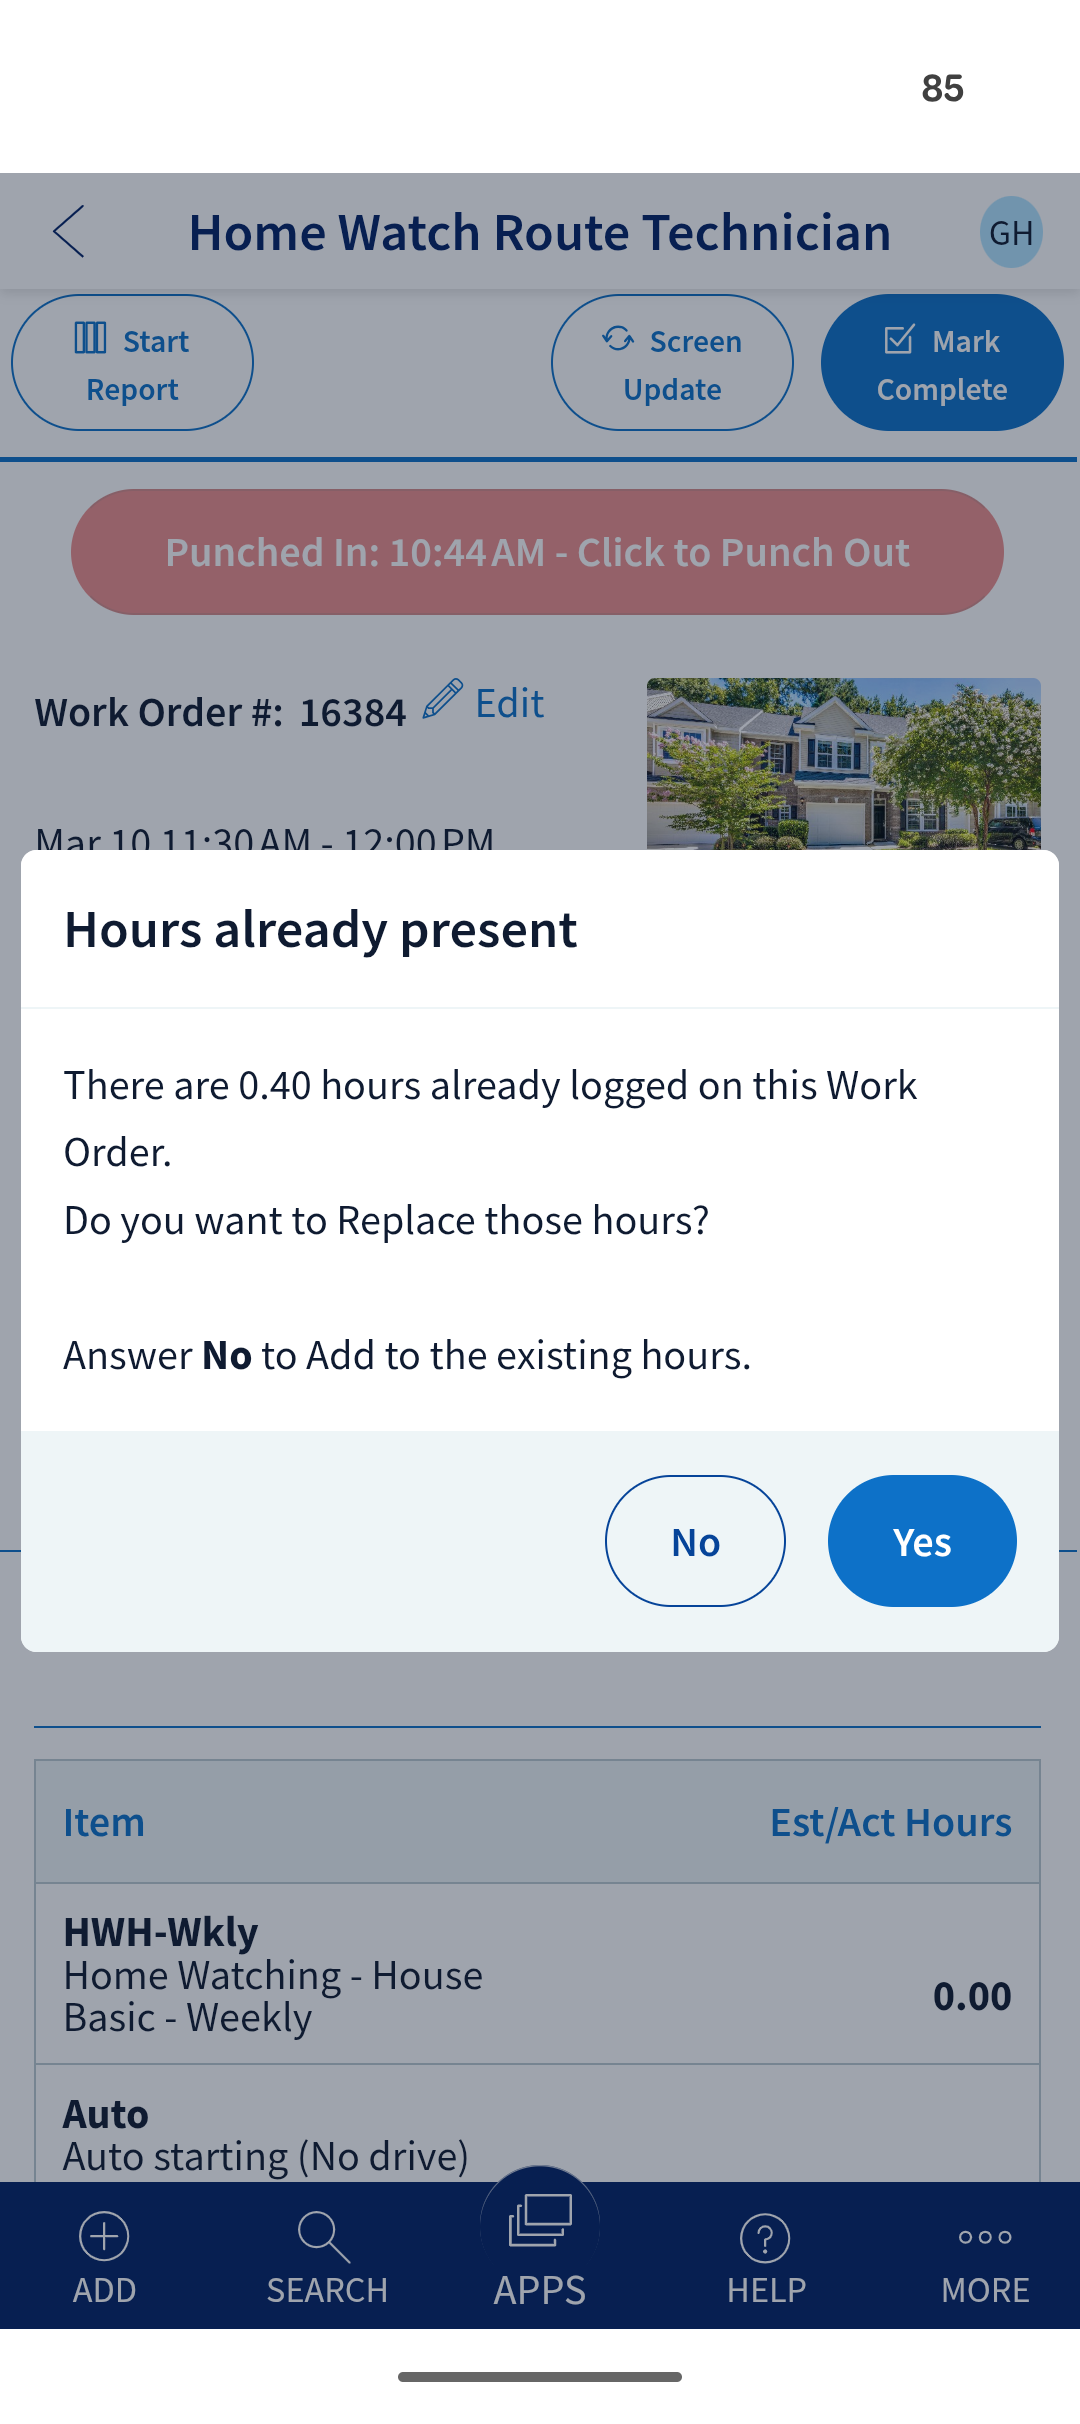
Multiple Punches: You can punch in and out multiple times on the same Work Order. When you punch out a second time, the system will ask:
-
Replace: Overwrites existing hours with the most recent session.
-
Add: Adds the new time to the existing total (ideal for “pausing” your work).
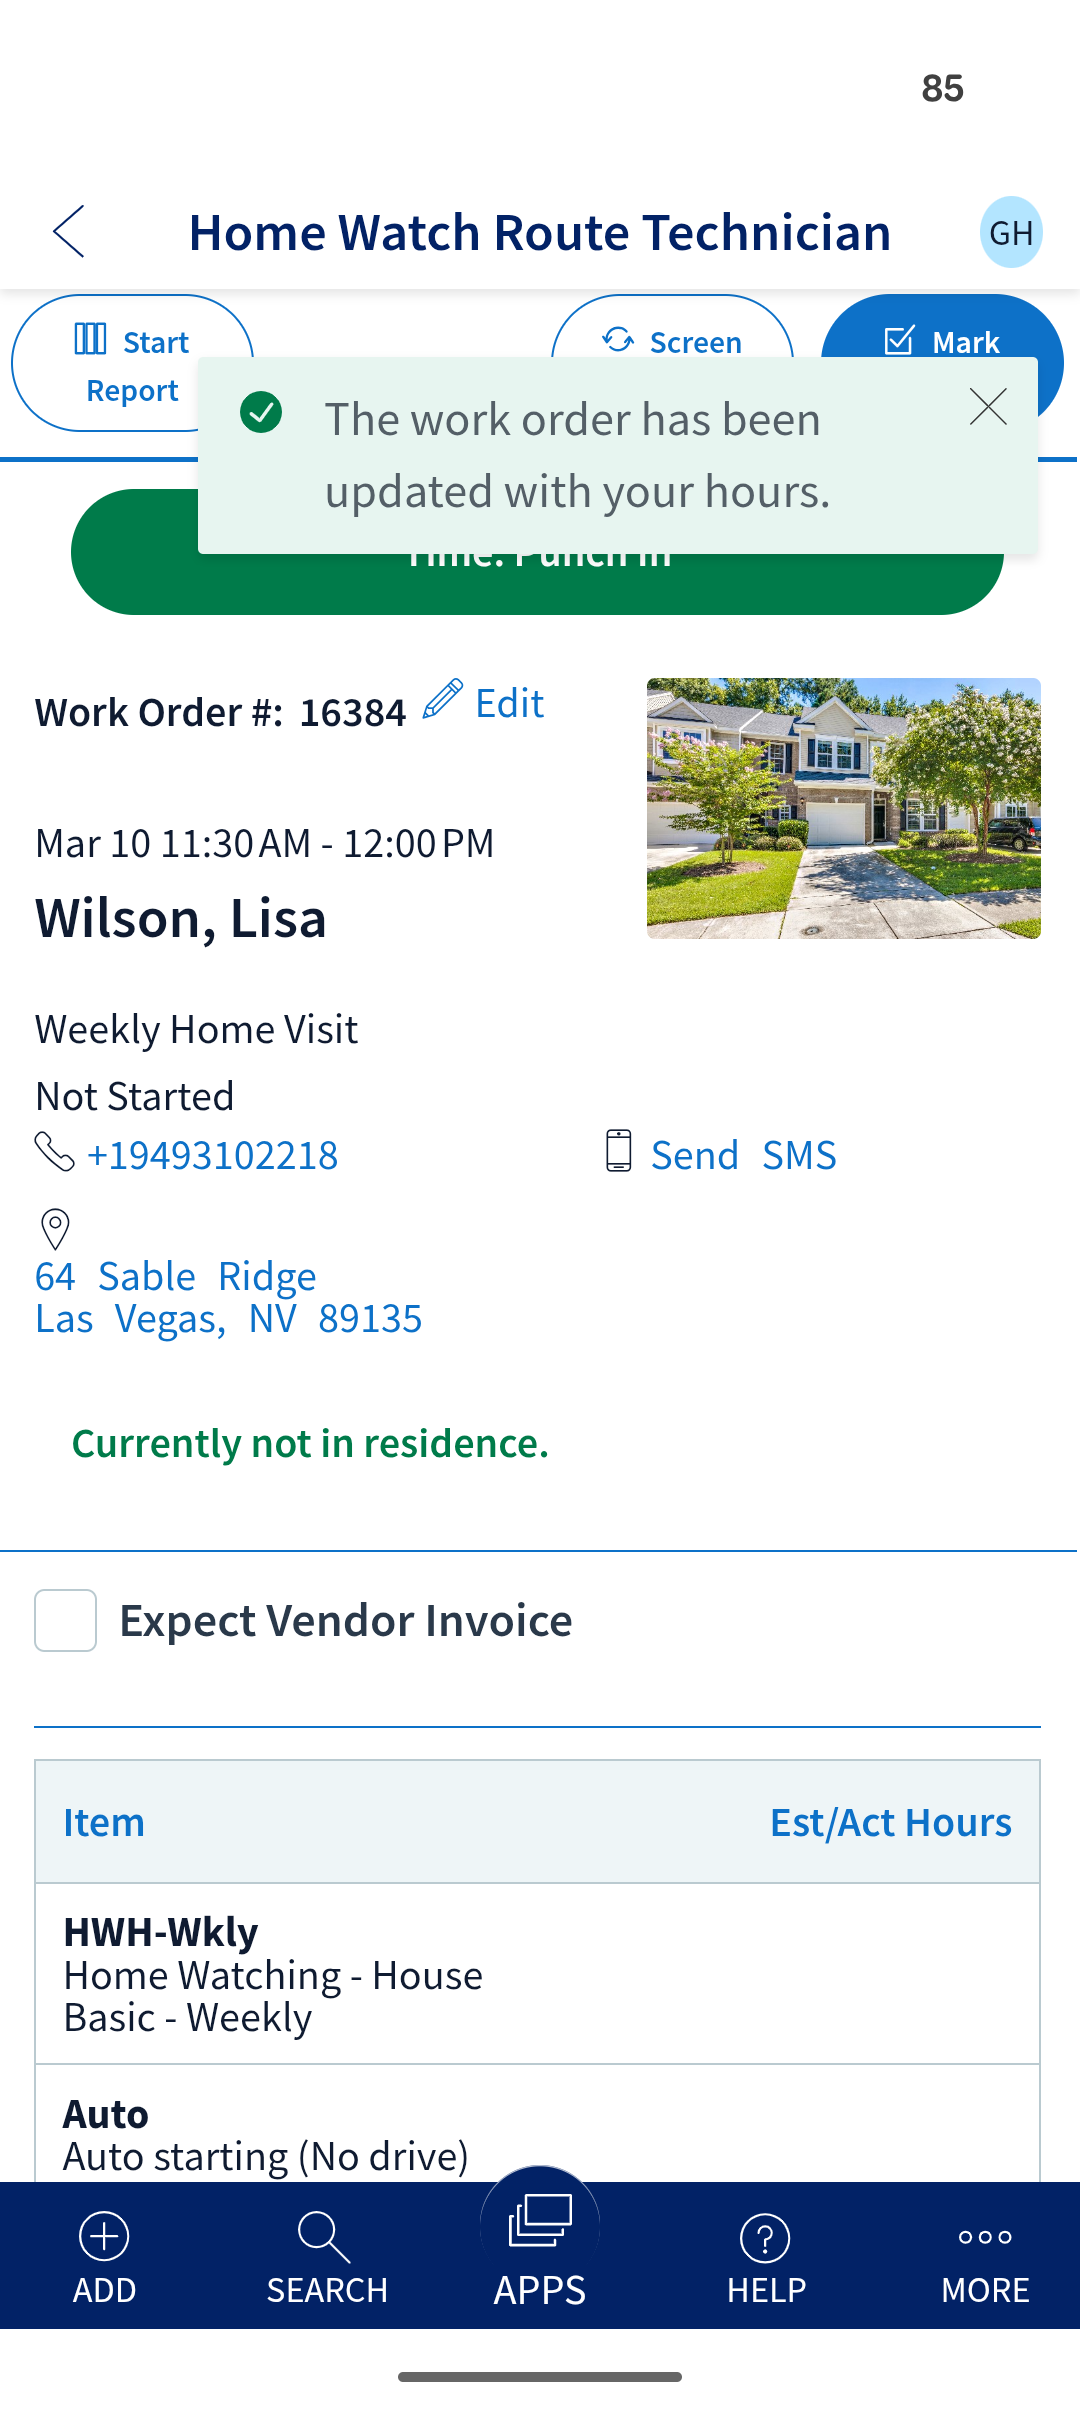
After punching out, a confirmation message will verify that your time records have been updated.
Important Limitations
- One at a time: You cannot be punched into multiple Work Orders simultaneously. You must punch out of your current task before punching into a new one.